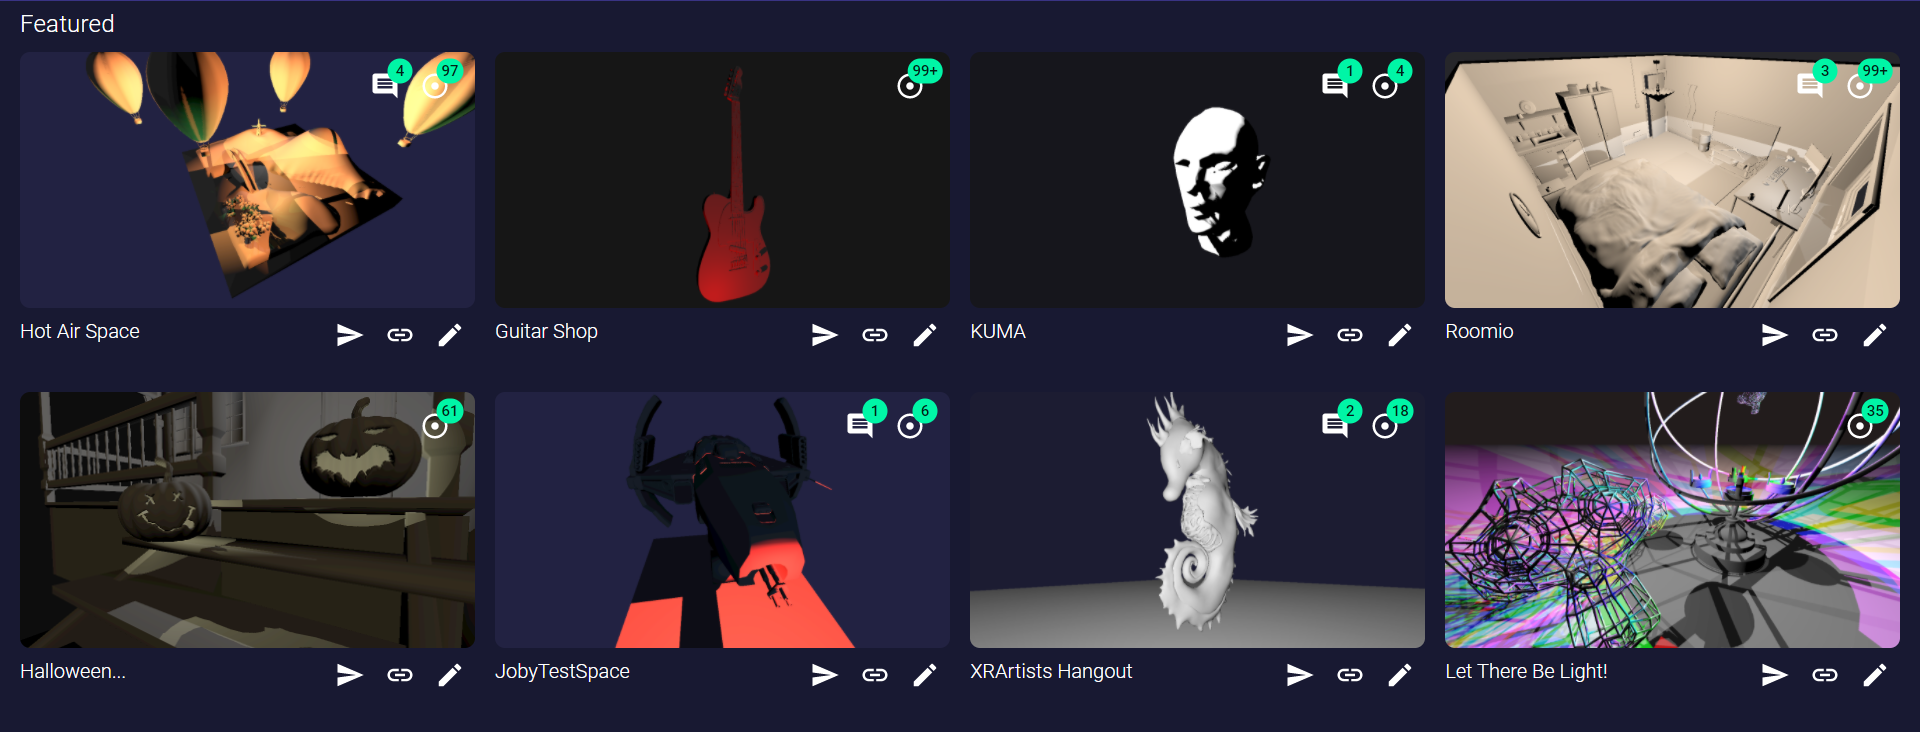
Global Studio

Once you've logged in to the Web App you will be taken to the Global Studio - a collection of open-source Spaces.
From here you can manage individual Spaces, such as:
All assets in the Global Studio are shared with the community under the CC0 licence.
Icons
| Icon | Meaning |
|---|---|
 | Copy Link to Clipboard |
 | Edit Space's Details |
| Share This Space | |
| Number of Nodes in Space | |
| Number of Users in Space | |
 | Number of Comments in Space |
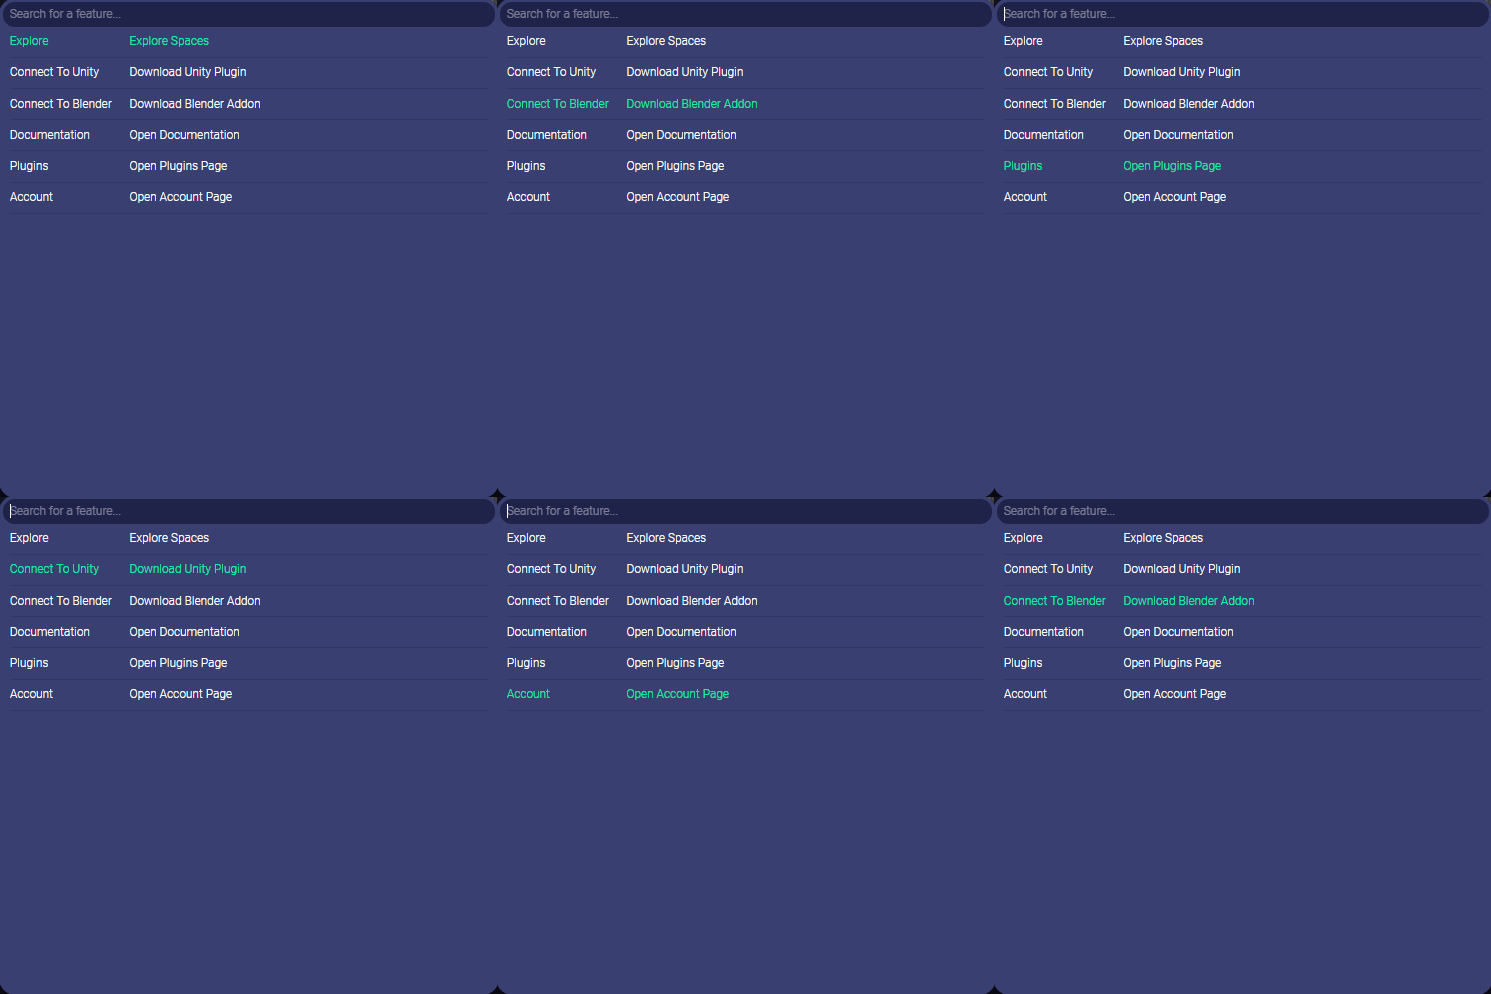
Command Pallet
Pressing Ctrl + M from anywhere within the Web App will expose the Command Pallet.
This is a quick way of searching for and actioning a specific function.
Creating a New Space
To create a new Space:

- Click the New Space button
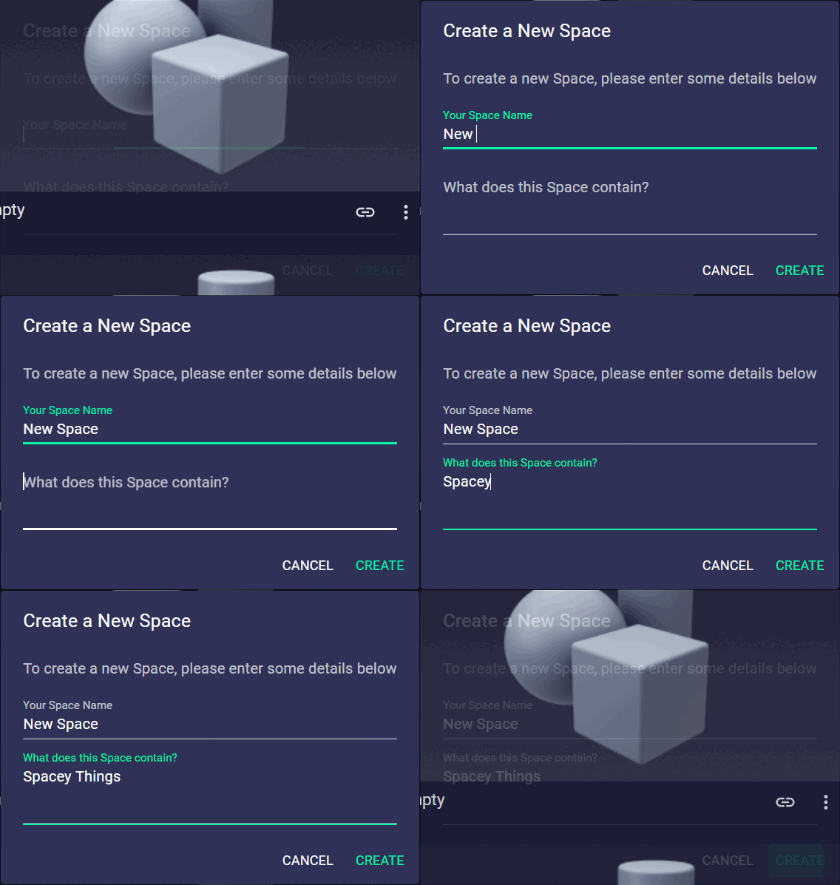
- Name your new Space
- Give it a description (you can edit this afterwards)
- Click "Create"
You will automatically be taken to the Space Viewer page for your new Space. To find out more about what you can do here, traverse over to the Space Viewer section.
This Space will also be added to the Global Studio.
Viewing a Space
Clicking on the thumbnail of the Space you wish to view will open it in the Space Viewer.
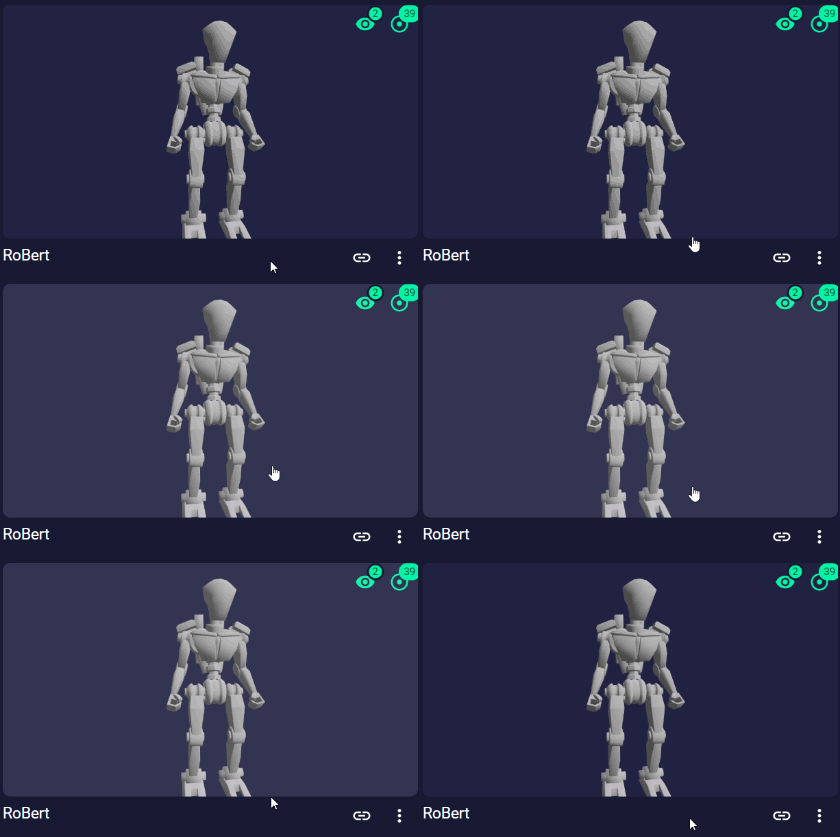
This allows you to navigate around that Space, explore all the great creations, and see all the updates happening in real-time.
To learn more, steer over to the Space Viewer section.
Copying a Space's URL
To connect to a Space from your local platform you will need to copy its URL by clicking on the Copy Link button

This is found under the thumbnail.
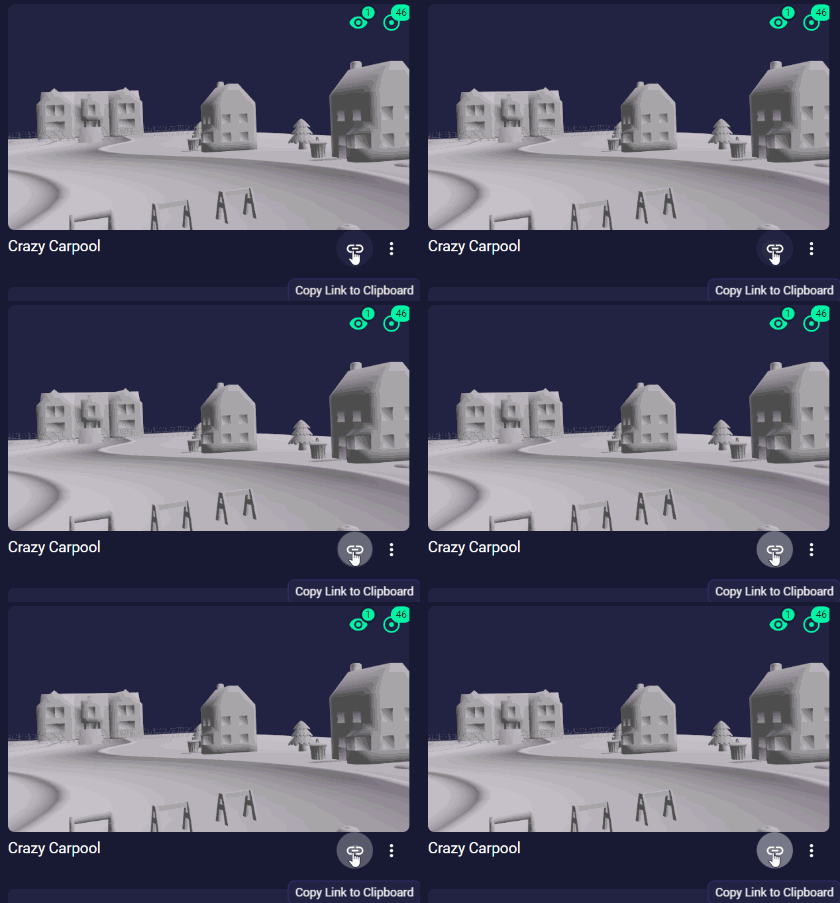
You'll get a pop-up message confirming the link has been copied to your clipboard.

You can also copy the URL from the web address bar, when inside the Space Viewer.
Now open Unity or Blender and paste it into the Massless Space Panel to connect to this Space.
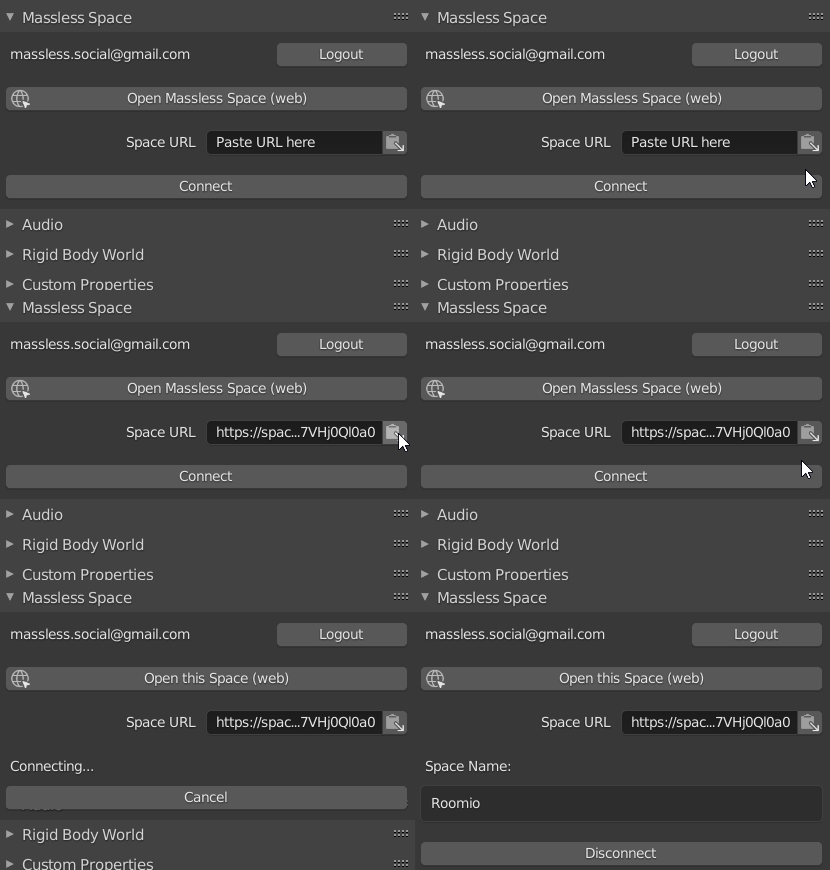
For details on how to install the Massless Space Plugin for your desired platform, head to Getting Started - Unity or Getting Started - Blender.
Sharing a Space
Sharing the Space with friends and collegues is the quickest way to start collaborating.
When you press the Share icon ![]() you will be prompted to enter the email addresses for those you want to join the Space with you.
you will be prompted to enter the email addresses for those you want to join the Space with you.
Editing a Space's Details
After you have created a Space, you can always edit its name and description at anytime.
To do so, simply press the Edit Space button  .
.
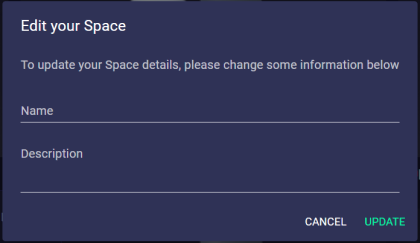
In the pop-up window, enter the new details.
Click Update to keep the changes, or Cancel if you change your mind.
Created by Me
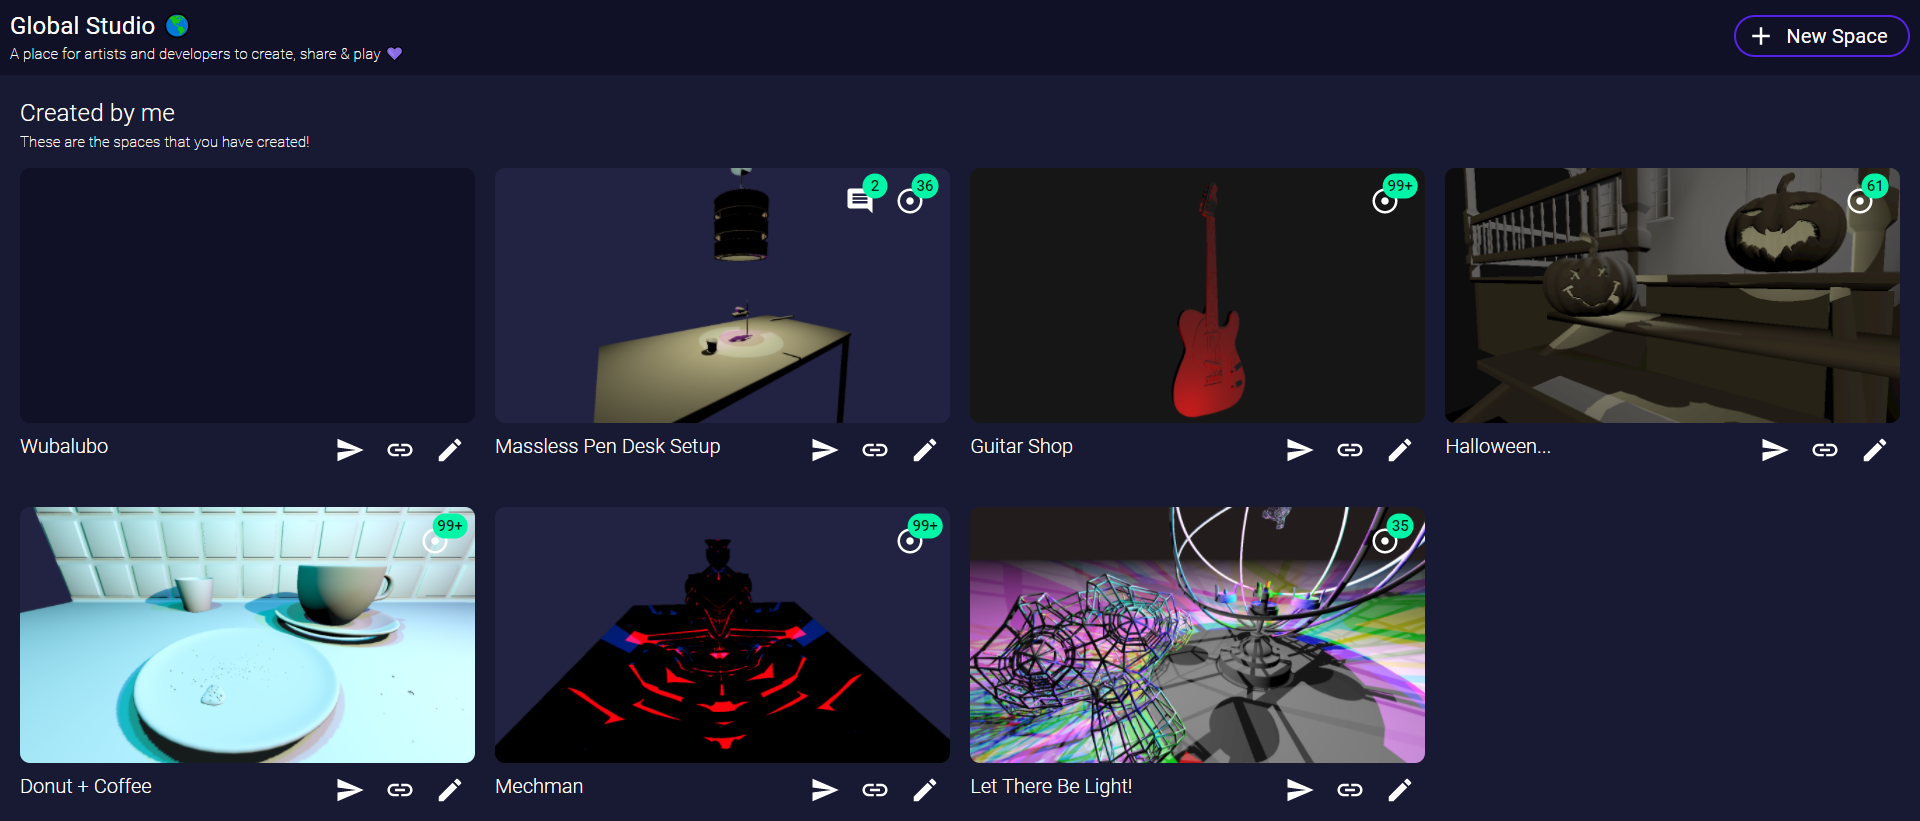
Every time you create a new Space it gets added the top of the Global Studio, under the category "Created By Me", so that you can easily locate the Spcaes you've created.
Featured Spaces
When you Tag a Space as "Featured", from the Space Viewer, it gets placed in the Featured category.
