Space Viewer
![]()
Clicking on a Space thumbnail from the Global Studio, or creating a new Space, opens the Space Viewer for that specific Space.
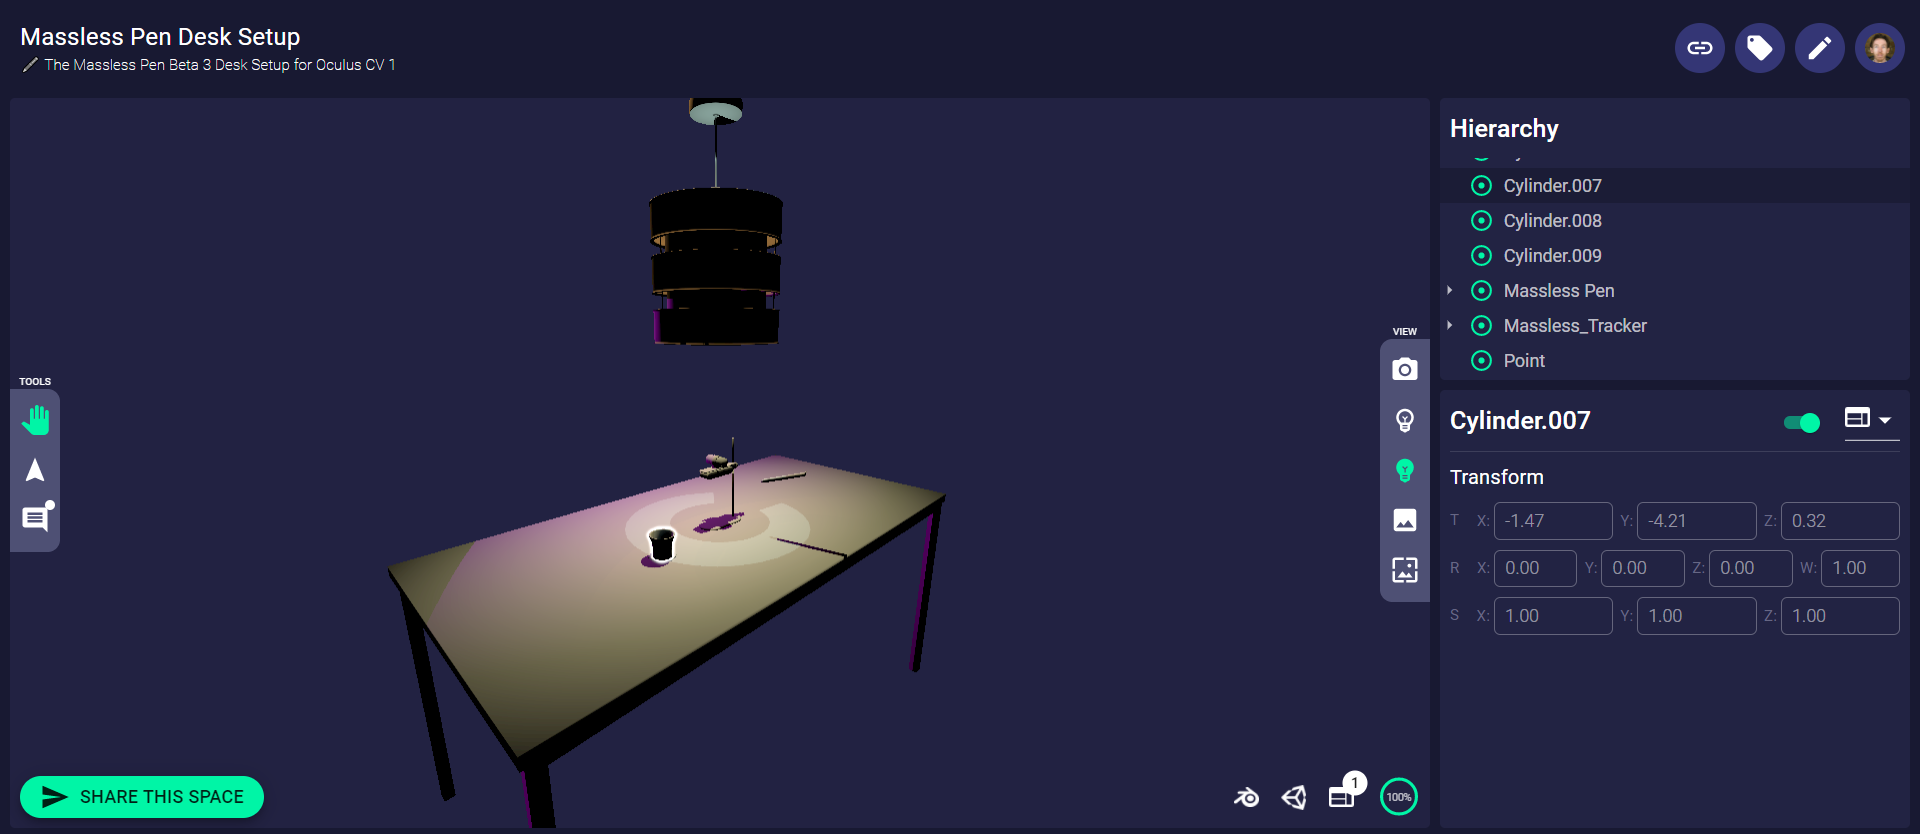
Here you can:
- Navigate around the Space using the Viewport
- See the list of objects using the Hierarchy
- View details for any object using the Inspector
- Leave/view Comments around the Space
- Copy its URL to join the Space from a plugin
- Perform specific Space Actions, such as Edit the Space description
- Take Screenshots to download or use as the thumbnail image
- Share the Space with a friend/colleague
- Tag the Space
The Space Viewer is still in its early development stages, so some features might not work properly.
Icons
| Icon | Meaning |
|---|---|
| Navigation mode | |
| Object Select Tool | |
| Comments Tool | |
| Toggle Camera Gizmos | |
 | Toggle Light Gizmos |
| Toggle Scene Lights On/Off | |
 | Set Background Color |
 | Take Screenshot Tool |
 | Percentage of Nodes Loaded |
| No. of Blender users in Space | |
| No. of Unity users in Space | |
| No. of Web users in Space | |
| Successfully synced node in Space | |
| Unsynced node in Space | |
| Parent node in Hierarchy | |
 | Auto_convert Toggle Button |
 | Platform Selector |
Nodes
Every object you see within the Space Viewer is defined as a Node.
We show the sync status of each node in the Space with the ![]() and
and ![]() icons - Green for synced, Red for unsynced.
icons - Green for synced, Red for unsynced.
When loading in the Space you will see a dynamic indicator (at the bottom-right of the Viewport) showing the percentage of nodes loaded into the Space.

Viewport
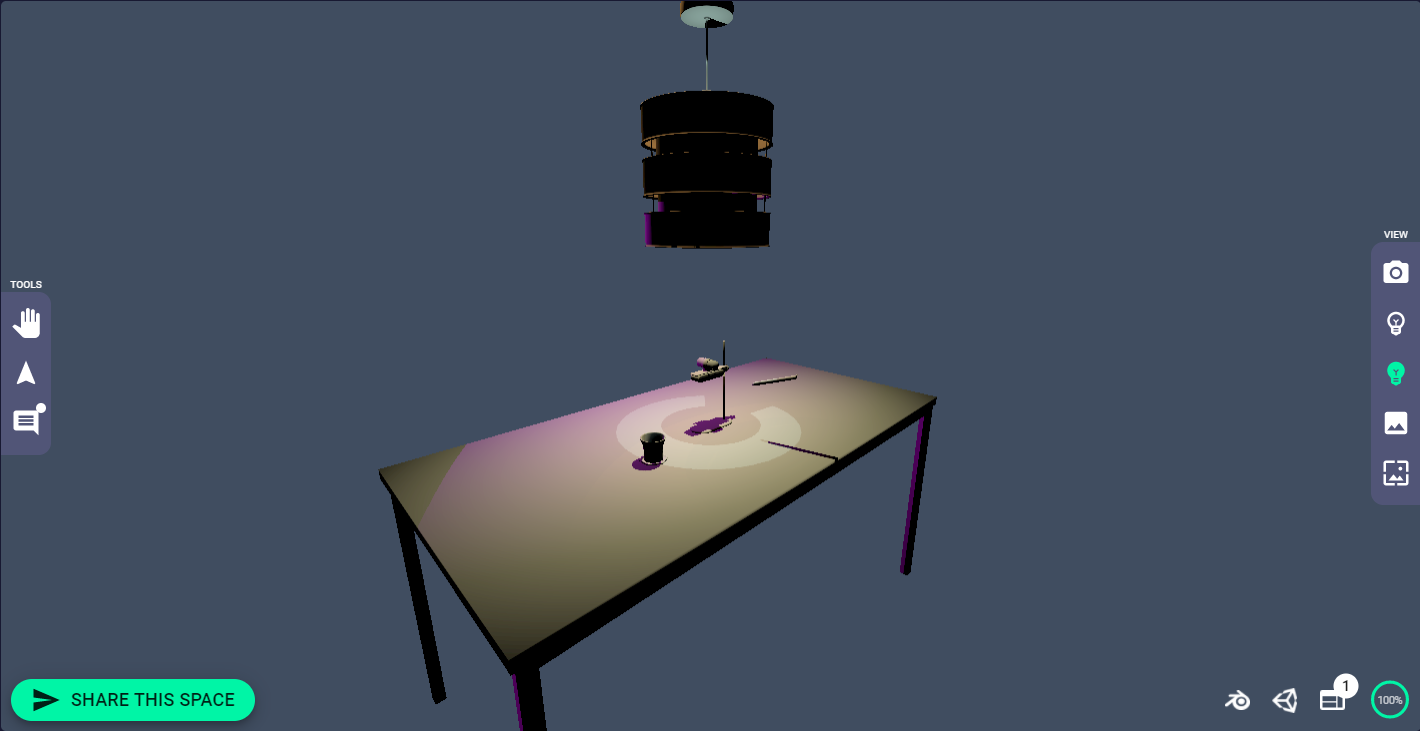
The Viewport is how you where you directly interact with the Space. Not only does it let you place comments and take screenshots, it also shows how many other members are connected to that Space and what platform they are using.
Navigation
To navigate around the Viewport:
- Left mouse click to rotate
- Right mouse click to pan
- Scroll-wheel to zoom
Selection
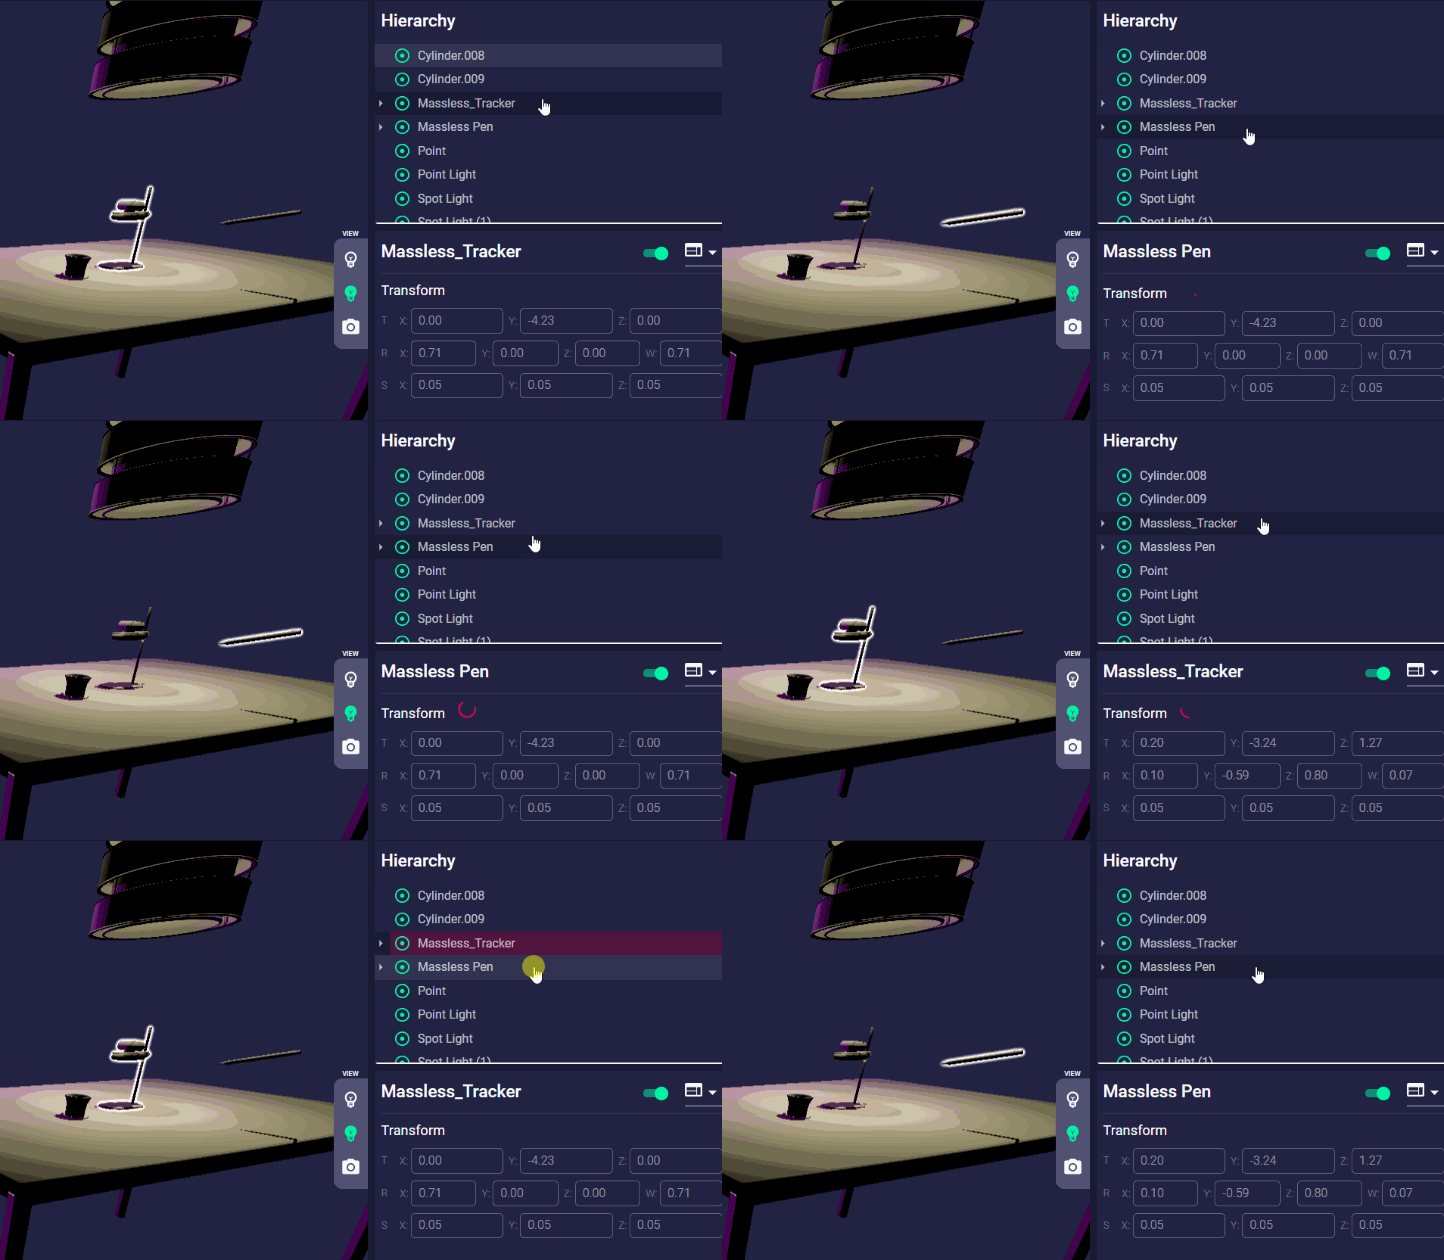
You can select an object within the Viewport by pressing the ![]() icon. This swithes the cursor to the Selection Tool, and LMB selects the object and displays its properties in the Inspector panel.
icon. This swithes the cursor to the Selection Tool, and LMB selects the object and displays its properties in the Inspector panel.
The object selected will be given a white outline, which will turn yellow when occluded by another object.
Comments
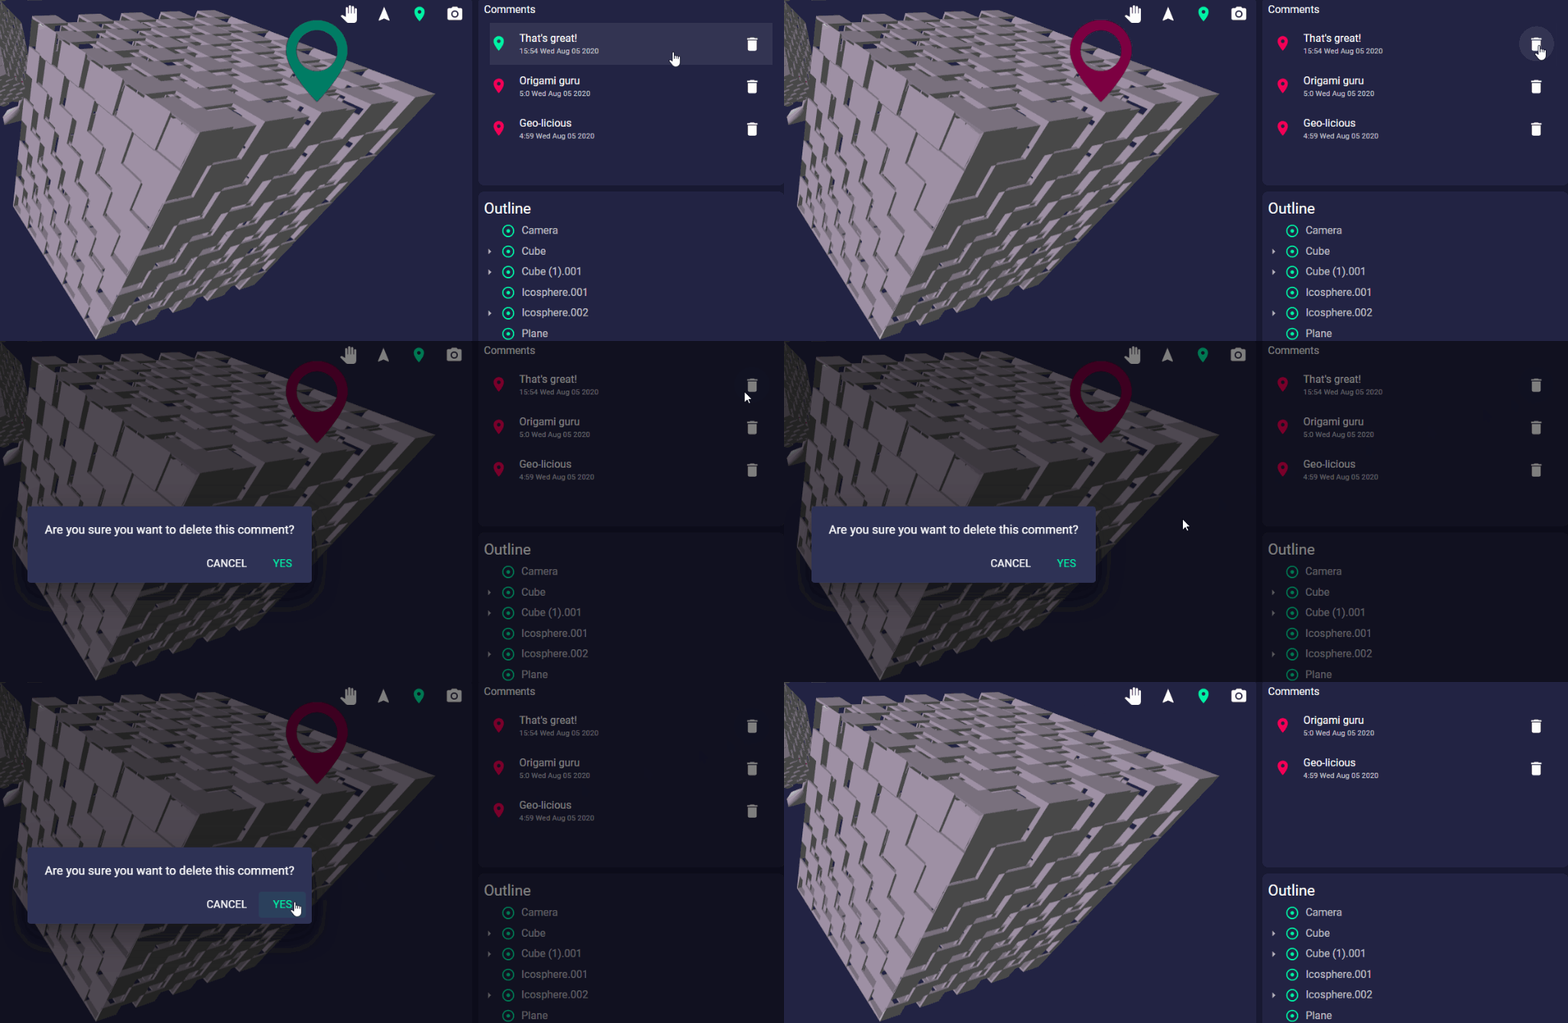
To leave a comment, simply click the ![]() button, or press the "C" key, and place it within the viewport.
Then write your comment in the pop-up window.
button, or press the "C" key, and place it within the viewport.
Then write your comment in the pop-up window.
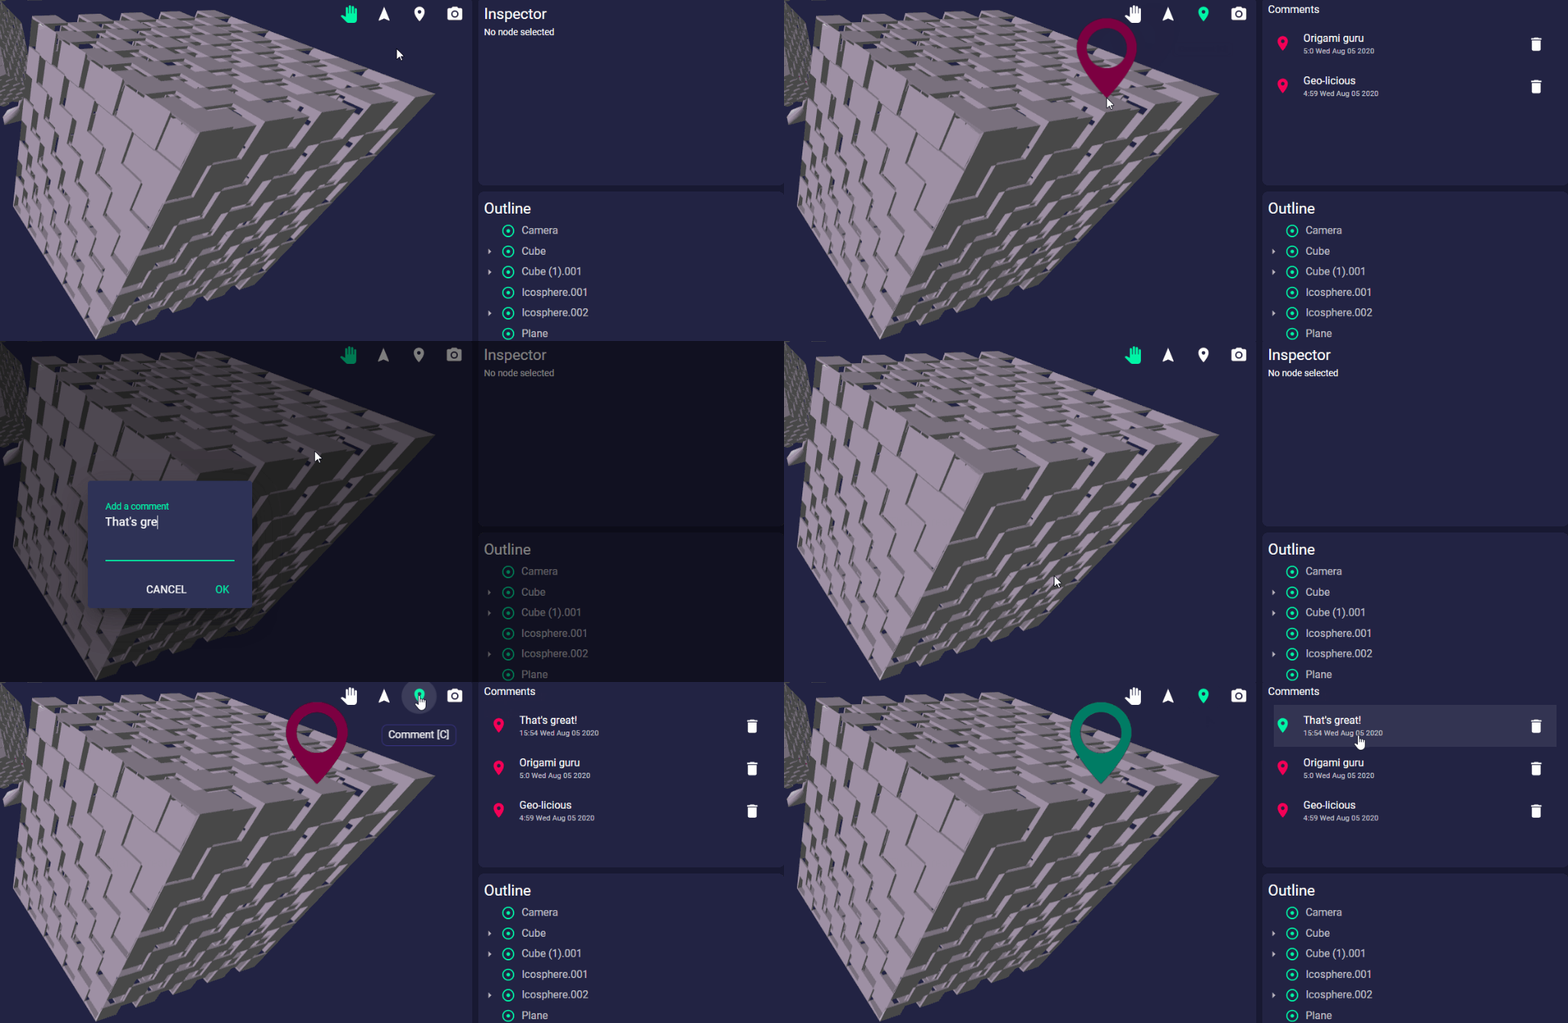
All comments can be seen and selected within the Comments panel on the right-side of the page.
To delete a comment, simply click the ![]() button and confirm deletion.
button and confirm deletion.
Gizmos
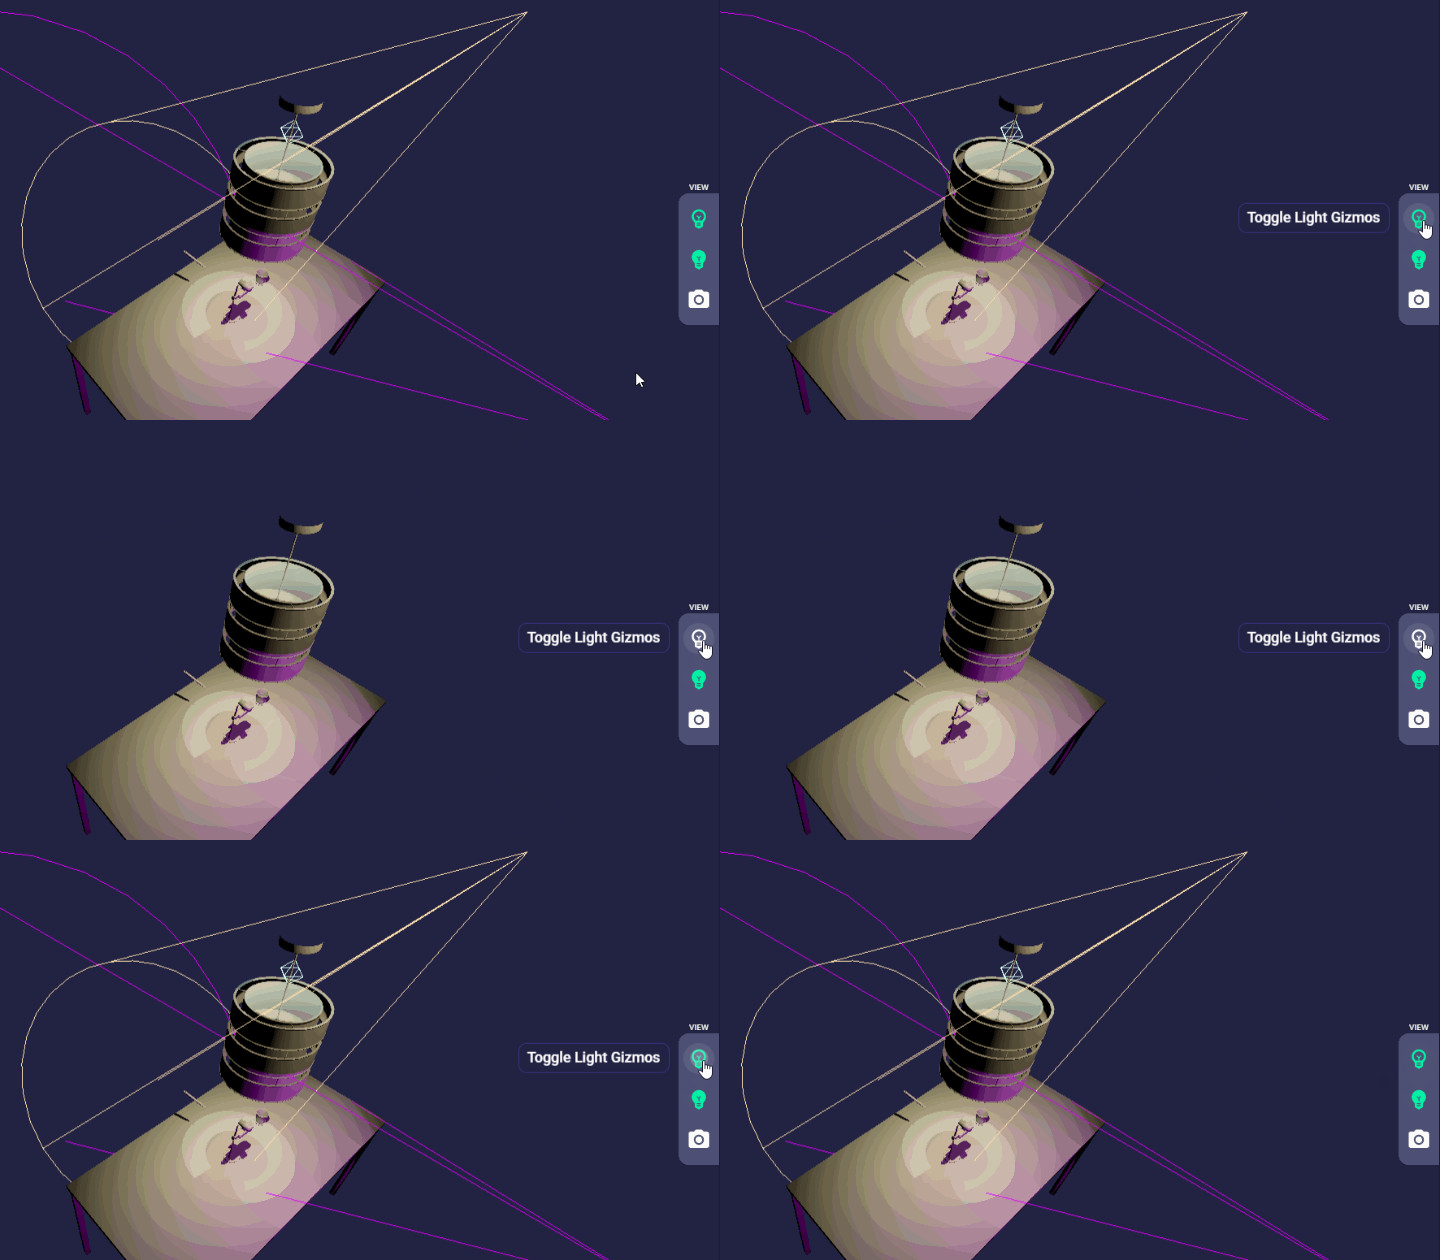
You can hide all the gizmos for the lights and cameras that are in the Space.
Just press the 
![]() icons to toggle them On and Off.
icons to toggle them On and Off.
Lighting
To switch the Viewport lighting On and Off press the ![]() icon, located to the right of the Viewport.
icon, located to the right of the Viewport.
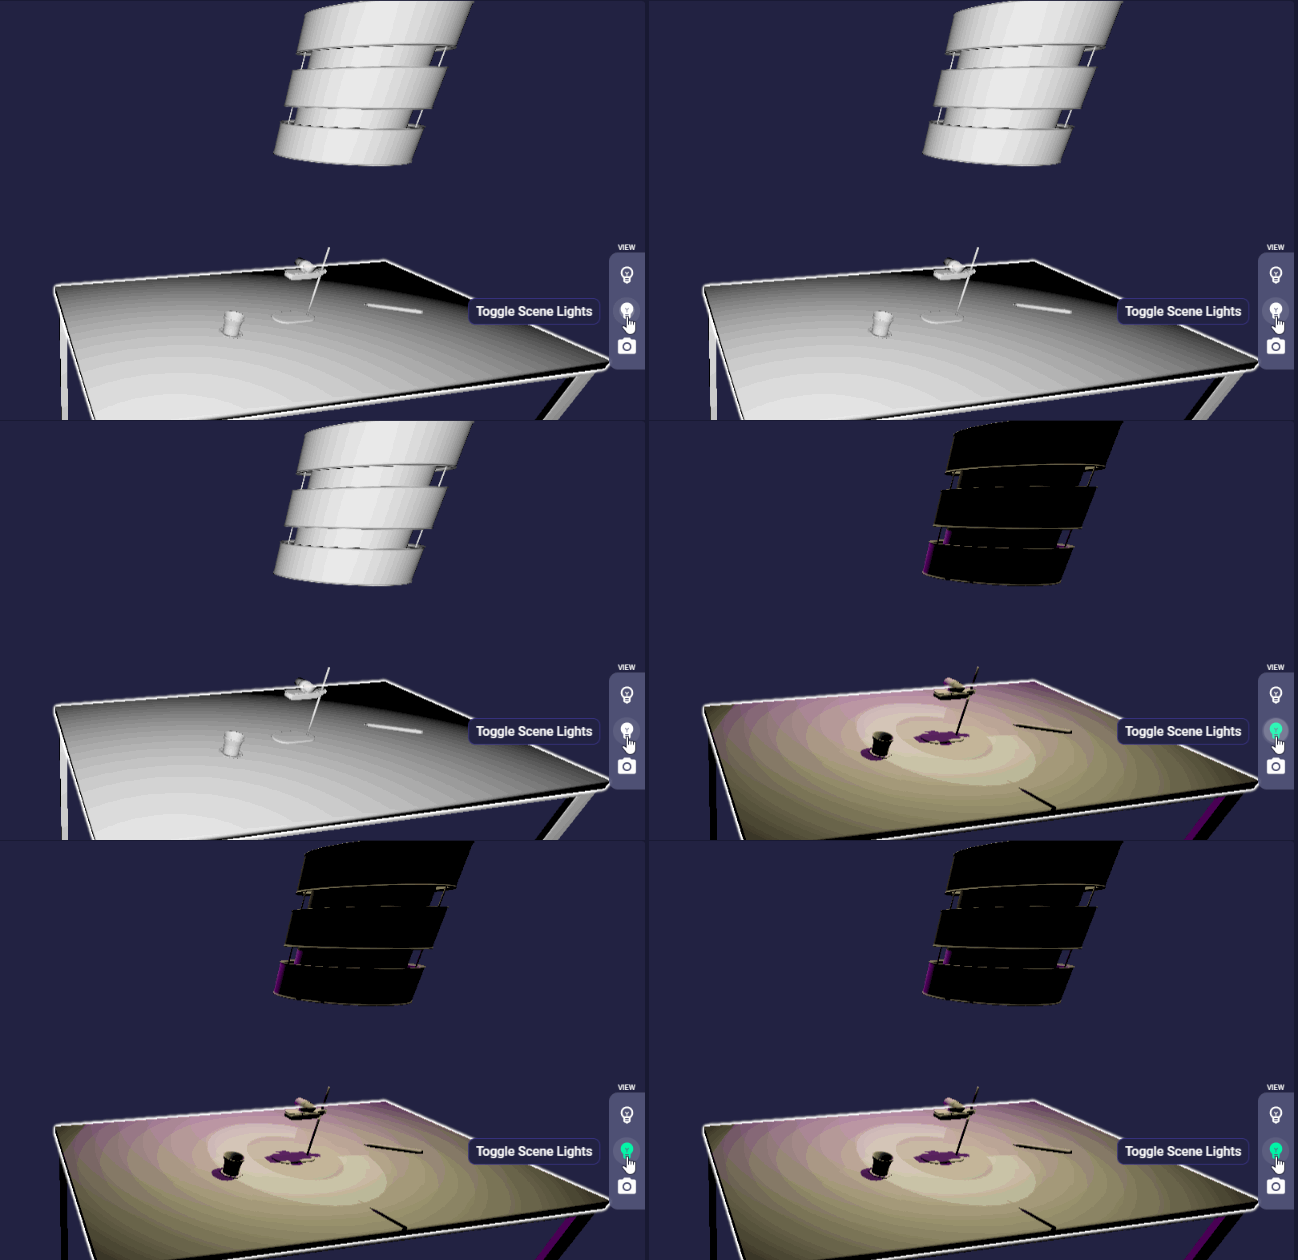
This will be set to On by default if there are lights present in the Space.
Bakground Color
You can change the background color for the Viewport
Screenshots
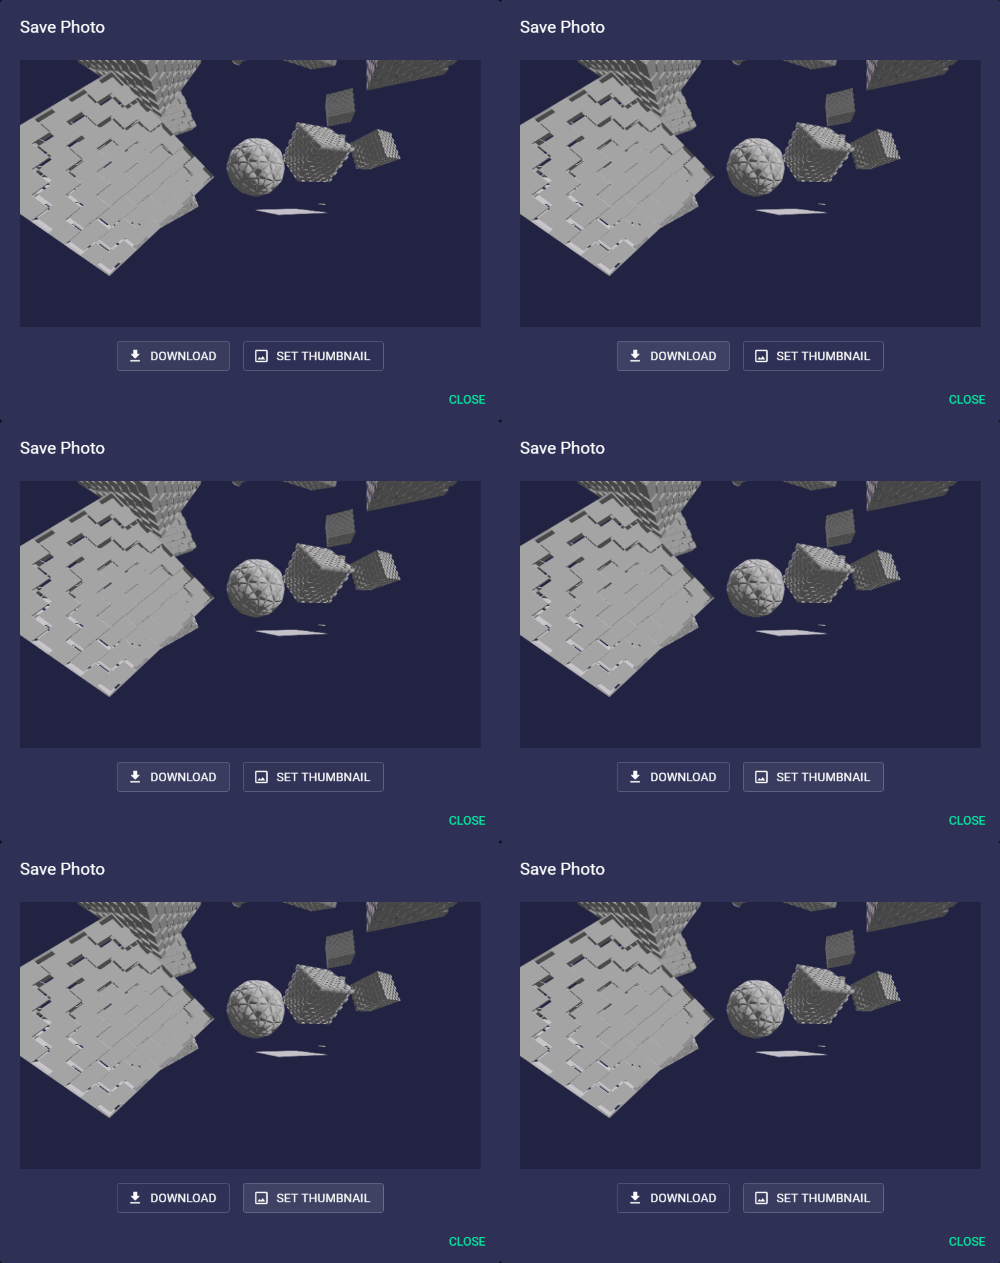
To take a screenshot, simply position the viewport camera to your desired position and click the ![]() button.
button.
A window will pop up to ask whether you want to Download the screenshot, or Set as Thumbnail. If you'renot happy with the screenshot and you want to try again, just hit Close and take another shot.
Hierarchy
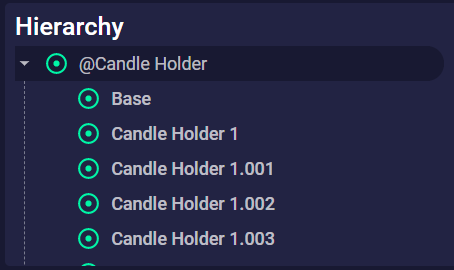
This lists all objects/nodes in the Space and their respective hierarchies.
You can think of this as the same as Unity's "Hierarchy" panel, or Blender's "Outliner".
Selecting an object within the Hierarchy brings up its properties in the Inspector panel.
Inspector
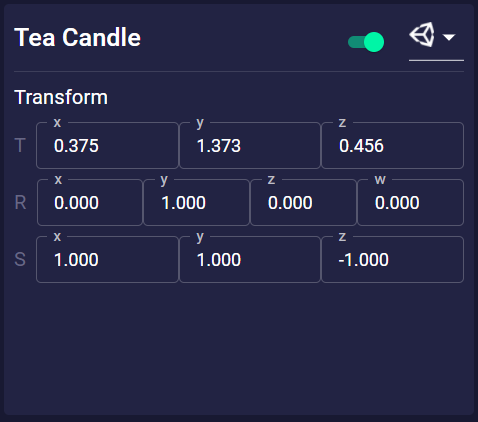
This details the object's:
- Name
- Node ID
- Position in Space
- Rotation (in Quaternions)
- Scale
The Inspector also contains the Auto Convert and Platform Selector buttons. More information on these features can be found in the next section.
Lights
![]()
Within the Space Viewer, you have full oversight of all the light properties.
When you select a light within that Space the Inspector panel will show its properties, as set within either Unity or Blender.
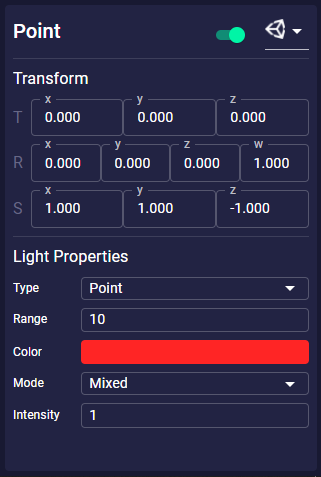
From here you can inspect its properties, such as its Intensity, Colour or Light Type.
 - This switch sets whether or not to Auto Convert those light properties between Blender and Unity.
By default, it is set to Auto-Convert.
Converting takes the properties of a light, as it is in one platform, and converts it to the light properties of another platform. We convert using a "best-fit" conversion.
You can switch auto-convert off so that the lighting properties can be tweaked seperately in each platform to acheive the best results.
 - This is where you switch between the Lighting properties for each platform.

You can select between Unity, Blender and the Web App.
Cameras
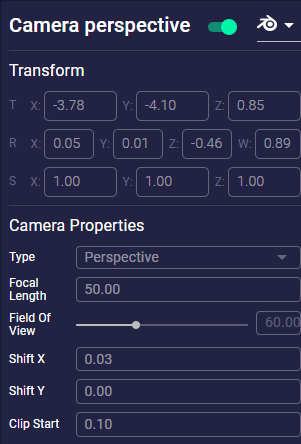
Similar to Lighting, Massless Space syncronizes all cameras across all connected platforms.
When you select a camera in the Hierarchy you will be able to see all the properties as set in Unity and Blender. You can switch between platforms by using the dropdown menu in the Properties panel.
 .
.
You can select between Unity, Blender and the Web App.
Light and Camera properties are read-only.
Tags
Tagging the Space as Featured will place the Space in the Featured category on the Global Studio.
You can find the Tag button  at the top-right of the Space Viewer.